I was given such a blessed opportunity to show off my talents as an amateur makeup artist yesterday at the "Creative Lighting: Fashion Photography Workshop" held at the College of Saint Benilde, School of Design and Arts (Blackbox) together with the people from the Optic View organization. I was invited by my good friend May's sister, Jonna, to help her out. I did not hesitate to give in and accept the offer since I know for a fact that this would give me experience which I really am in need of. This would count as my very first experience as an amateur makeup artist! Definitely not that easy, but I really had fun.
 |
| Face of the Day |
 |
| Eyes of the Day |
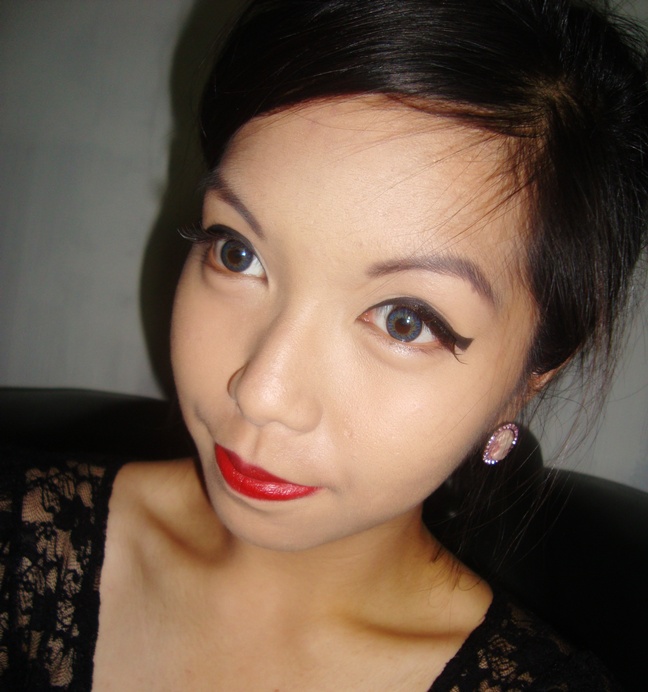
Before moving on to the photoshoot makeup details, let me start by sharing my EOTD and FOTD. For the eyes, I went for the fall-theme as well. I used browns and light golds in my Dollface 88 Earth Tone Palette and played around with it. I filled in the center lids with a light shimmery cream color and blended everything together. I used Maybelline EyeStudio Lasting Drama Gel Eyeliner to line my eyes, create that cat eye effect for the upper lash line; lined the lower lashline as well, also creating a twist of wing tapered out in the end. I applied faux lashes and as you can see in the photo above, it gave me an illusion of longer, fuller lashes. For the cheeks I added a little blush using my favorite from The Body Shop, and for the lips I applied a lip color I thought I'd never use. Nichido Sheer Lipstick with Shea Butter in Nude. It looked quite fine on me and I think it's something I'll be able to use once in a while.
 |
| Before and After shots |
I arrived at around 12 in the afternoon and we started by 1:15PM or so. At first I was rambling on what to do first and was really nervous but as I moved from one part to another, everything felt okay. I was given Rachel Tayag to work with. She is such a sweet girl! Very nice and pleasant. We had to go ahead and do the makeup, following the theme "FALL". I brought my whole makeup collection with me, and it was definitely a chaos searching through and through... Not having a train case did not help at all. So it's another thing to be really organized. I wanted to work in a organized environment, but in this world, you can't always get what you want, and you have to adjust and adapt and just deliver how you should deliver. No complaints, whatsoever. I did forget a lot of things. Facial wash, moisturizer, primer, a hand mirror...few of the things I should have brought w/ me. I only forgot some of them, but in the case of the wash and the moisturizer, I didn't know I had to bring them. Because I have this mindset that..."Okay, it's gonna be a photoshoot. Put makeup on the model." That's it. But technically, it's not the way it goes. Start from square one. Definitely a lesson learned!


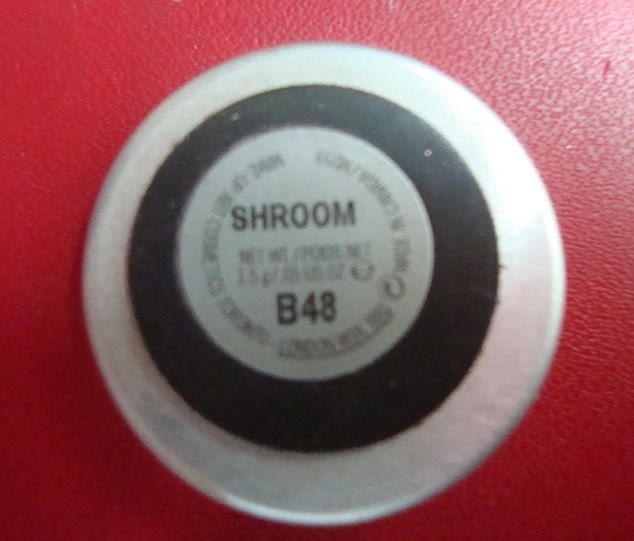
Let's talk about the makeup look I did on Rachel. In this before shot, you can see that Rachel has fair skin. I wanted to mix and match to get the right color of foundation so I went ahead and applied Maybelline's B.B Cream all over her face. After that, I mixed part of the B.B Cream and Maybelline's Aqua Gel Foundation in my shade, True Beige, and applied it over the first layer of B.B Cream. The finish came out the way I wanted it to. Not too dark nor too light for her skin tone. Next, I highlighted the inner corners of her eyes with a Dollface Brush and MAC's Shroom eyeshadow. I redefined her brows next, since I forgot I had to do that before the eyes itself. I went ahead and used Fanny Serrano's #7 Eyeliner Brush, and a dark brown color from DollFace Cosmetics' 88 Earth Tone Palette and followed the shape of her brows. I didn't do any plucking or anything since we were kind of under pressure. I went for lightly tracing and filling in her brows, achieving natural full brows. The eyes were next. So basically, I used Dollface Cosmetics' 88 Earth Tone Palette for the eyes, except for the highlight color. The Dollface 88 Earth Tone Palette was definitely the perfect palette for any fall look. I am so glad to have that palette of mine. Anyway, I worked with a mix of browns, black and gold. I actually cannot remember which of which I did use and apply on Rachel, but I know I did a lot of mixing and matching. I applied layers of different shades of shimmering tans and golds on her center lids to achieve that oomph in her eyes. As you can see clearly, I created cat eye effects. Both the eyeliner and the eyeshadow were tapered out. I wanted to achieve a kind of high-fashion look which I hope I did. Anyway, I applied falsies on her (which was difficult, since I had to do it on somebody else) but came out okay. I might've made booboos but I tried my best to re-do and re-create. No blush was added, just light contours to show the dimensions of her face. She sported nude lips for the shoot. Check out the before and after photos for clearer comparison.
 |
| I achieved that look I wanted for the eyes! |
 |
| Rachel ready for the shoot! |
 |
| With my co-makeup artist, Jonna Galao |
 |
| Mission accomplished! |
I hope you enjoyed the video I posted! It can definitely be counted as my first follow-me-around vlog, except that I didn't do much talking. In fact I didn't do any talking at all. I just wanted to compile a video montage + photo montage of how this experience went for me.
Lessons learned:
- You will always learn something new
- It's not that bad to mess up
- Bring everything that is needed down to tissues, towels and washes. *I did bring my Magic Towels with me and it got everybody excited!
- Take advices and know how to incorporate them in your work properly
 |
| With May Galao, a good friend of mine. She is also the one behind the filming of the video clips! |
 |
| With the other amazing girls from the creative crew. |
So basically that's how this event went for me. I hope you got entertained in any way. Please stay tuned because I have a wonderful tutorial coming up tomorrow!
You can watch the video here:




_04.jpg)